The new Ritualist has hit the world of Losomn in Remnant 2, and it is a class chock-full of interesting synergies. Alongside all of the extra items introduced in The Awakened King, you’ll have many new builds to try. But which Archetypes pair best with the Ritualist?
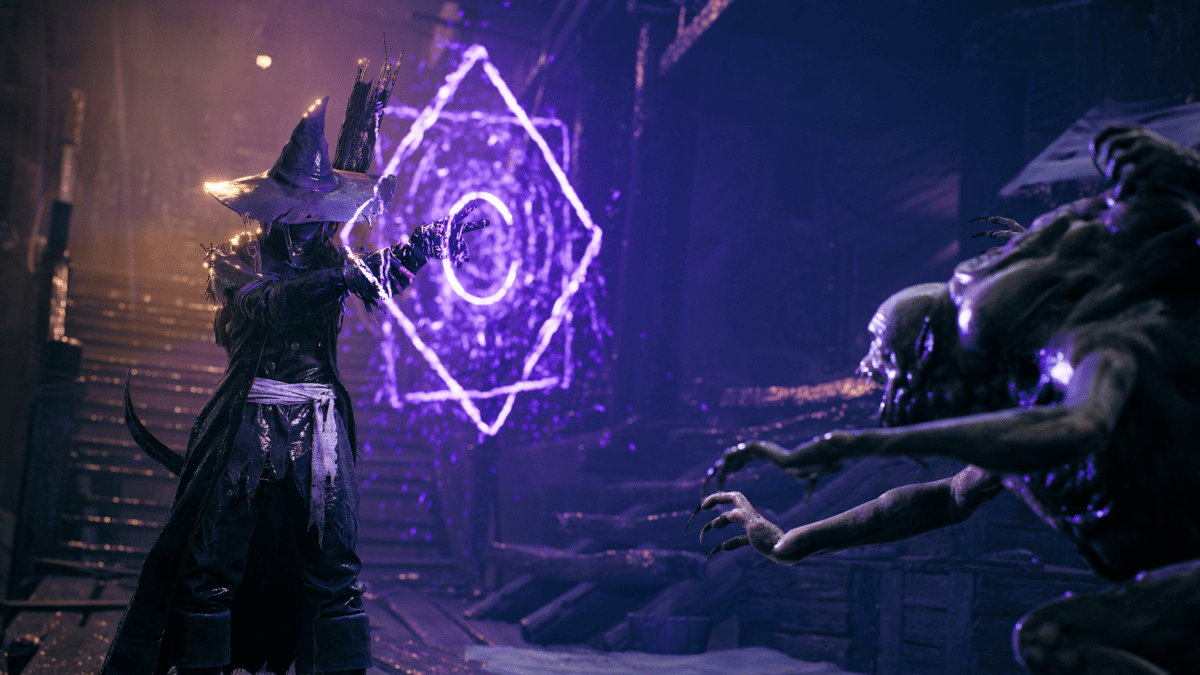
The Ritualist focuses on dealing damage over time. This includes a new skill that applies all damaging debuffs in the game and another that deals additional damage based on that damage-over-time. It also focuses on self-sacrifice, with several grey-health abilities and being able to take damage itself to gain lifesteal and deal extremely high damage back.
The best secondary archetypes for Ritualist in Remnant 2
The best synergistic archetypes for the Ritualist in Remnant 2 either help it apply negative status effects or boost the damage of mods and rapid-fire weaponry. While many of the Ritualist’s skills are focused on damage-over-time effects, it is more important to apply negative effects and deal significant damage to those under negative effects.
Before you can build with this Archetype, you must unlock the Ritualist class. Thankfully, as long as you can kill an Elite, you are more than capable of unlocking the Ritualist on your first run through the Forlorn Coast. Just follow the boats into the small cave off to the side and you’re golden.
Archon

The Archon is the best secondary archetype for the Ritualist in Remnant 2. This is because of the impact of mods on the Ritualist’s build, as well as the incredible skills the Archon boasts, both offensively and defensively.
Mods are a big source of negative status effects. Many elemental effects, such as Burning and Corroded, can be found through mods, like Hot Shot and Corrosive Rounds. Archon is responsible for not only boosting the damage of these mods but massively decreasing the amount of mod power needed—by more than 25 percent in total.
The skills are nothing to sneeze at, either. You can either get easy access to Slow or Overload, depending on whether you’d like safety or area-of-effect damage. Considering the Archon likes its skill cooldown as well, this is a huge consideration.
Archon is so good for the Ritualist that it’s worth considering using the Archon as your primary archetype instead. The free mod power generation is worth considering over the Infected status. For builds focused more on mod power and less on dealing Status Effect damage, that’s a legitimate consideration.
However, even Status Effect-centric builds will adore Archon’s massive boosts to damage and huge mod power reduction as a secondary archetype.
Handler

The Handler is a simple starter archetype, but with a big upside: the Dog. Your Dog is a great summon which can distract enemies but, more importantly, apply the Bleed status effect to an enemy.
A lot of the items for the Archon focus on spreading status effects to multiple targets. While Miasma does this well, you can sometimes be in situations where your skill is on cooldown, or perhaps you’re wanting to use another skill that doesn’t apply these negative statuses.
Handler is right for you. The Dog hands out Bleed like candy, which is a strong status effect for you to have lying around.
The Dog is also handy for bumping up your own damage. You get up to 30 percent skill damage and five percent skill crit chance while your puppy is nearby. It also comes along with movement speed and extra benefits for using Relics. Far from bad, especially in multiplayer.
The skills are all supportive, though Support Dog and Attack Dog are both useful in their own rights. We only don’t recommend Guard Dog, since the movement speed on Support and damage from Attack tend to be better, even at higher difficulties.
Honorable Mentions
While we believe the Archon and Handler are by far the best options for Ritualist, there are a few other archetypes with unique synergies for you to work with.
These archetypes tend a bit more towards the damage-focused “Death Wish” skill, one which simply boosts damage by 35 percent and grants 10 percent lifesteal. By using these archetypes, you can see your damage skyrocket.
Challenger

The Challenger is a unique build for Ritualist, supported almost entirely by a single item; the Ritualist Scythe. This quick-hitting weapon deals more damage when their target is suffering from a Status Effect, making it a potent melee option for a Challenger.
The Challenger is the strongest melee combatant in the game, offering a huge 35-percent bonus to close-range damage. This isn’t just melee, but the Champion’s melee capabilities are further locked-in through their Juggernaut ability.
By focusing on melee damage through the Juggernaut Skill and getting nice and close to enemies, the Ritualist Challenger can use Miasma to apply big damage-over-time effects and then deal surprising damage with their Scythe.
The Heavy attack of the Scythe is a multi-hit, dealing many instances of damage at once. This makes Charge Attack Mutator—like the new Shocker or old Weaponlord—extremely effective at building stacks and dishing out numbers.
However, there are some headaches to consider with Ritualist Challenger. Mainly, you run into people head-first, which means you should expect to get hit back fairly hard. Wearing rings that build Bulwark, such as the Fae Bruiser Ring or the Guardian’s Ring, is highly recommended. This means your damage will be slightly lower in general than the safer ranged weapons build, but you are naturally significantly more durable due to your higher armor totals.
Gunslinger

The Gunslinger is a non-starter class—unless you pre-ordered—that might seem fully at-odds with the Ritualist on the surface. As a gun-focused archetype with no method of inflicting innate status effects, you would assume it plays against the standard gameplan of the Ritualist.
However, you would assume incorrectly. The Gunslinger props up the strongest build of Ritualist in a unique way. If you are adept enough to have earned the Devoured Loop through beating the campaign on Apocalypse Difficulty, you are aware of its strength. It grants a one-percent chance to refresh your skills on critical hits—albeit, with an internal cooldown and 10 percent bonus to damage taken.
The Gunslinger is extremely efficient at activating Devoured Loop—or the weaker Sapphire Dreamstone—through inflicting rapid-fire critical hits. With a higher rate-of-fire, exceptional critical hit rate, and easy access to free reloads or faster reload speed, the Gunslinger consistently procs this extremely potent ring.
This lets the Ritualist constantly activate Miasma. Miasma applies a lot of status effects immediately, so you can stack up your Status Effect rings and amulets very quickly. This is a devastating loop of effects that allows you to deal significant damage through both gunplay and damage-over-time.
However, it does require a rather specific build. The Chicago Typewriter, Devoured Loop, and critical hit Mutators are basically must-have. And this build’s area-of-effect damage is fully reliant on rapid-fire Miasma’s, and thus are fully reliant on random chance.
We wish you luck.
Invader

The Invader is far from what you’d expect from a standard Ritualist build, even compared to the Gunslinger. How could a quick-dodging, fast-moving, and non-Status applying archetype work especially well with the Ritualist?
Well, we’ve been focusing on synergies with Miasma and Eruption, two very strong skills. However, we haven’t really looked into the third skill for Ritualist, Death Wish. Death Wish is an all-damage up by 35 percent, though with the downside that you’re constantly losing health.
Invader is perfect for using this ability to the fullest while giving yourself the best chance to survive late-game and higher difficulty conflicts. The main onus of this is the Loophole perk, which grants up to 7.5 percent lifesteal to the Invader and party members while a monster targets their decoy. That’s quite a lot.
For Invader to work, we recommend using it as your Primary archetype. This will give you the Prime Perk that spawns extra decoys, improving the chance to get your lifesteal.
Even without lifesteal, though, you’re putting yourself into a good spot with Invader, the Invader rewards careful play with high bonus damage and abilities that improve your perfect dodges. Avoiding damage entirely is very nice in Remnant 2, since you will absolutely get one or two-tapped if you’re not prepared. The Invader makes this simple through Void Cloak, Worm Hole, and Reboot.
The only big problem with this build is the reliability of your Decoys. This build’s lifesteal and bonus damage are reliant on your Decoys, and they’re not always the best at drawing enemies to them. Especially in group conflicts, it can be difficult to get your bonus lifesteal on your Decoy’s targets while an enemy is closing in on you. In that case, use Miasma instead of Death Wish to deal area-of-effect damage, and consider choosing Worm Hole for the faster cooldown and tripled damage. You may also want to consider the Assassin’s Seal ring for slightly easier distracting.
